Table of Contents
The Secret to First-Time Fitting Success
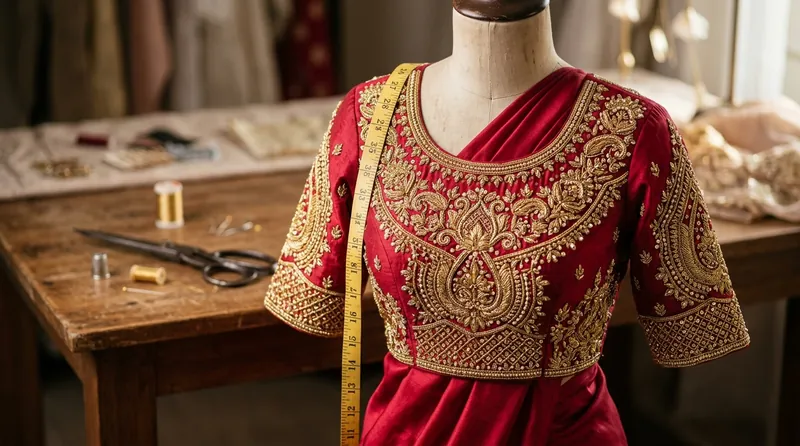
The most common complaint in custom tailoring is not price—it is fit. A blouse can use the most expensive Kanjivaram silk and exquisite Zardosi embroidery, but if the armholes gape or shoulders slip, the outfit fails.
Getting a perfect fit on your very first trial requires proper preparation before fabric cutting begins.
10 Essential Fitting & Measurement Tips
- Wear Event-Day Undergarments for Measurement: A padded bra versus unpadded bra changes bust circumference by 1 to 2 inches. Always wear the exact bra style during measurement.
- Provide a Reference Sample Blouse: Bringing a perfectly fitting blouse from your wardrobe allows the Master Cutter to cross-check armhole curve and shoulder slope.
- Specify Ease Preferences Explicitly: Tell the tailor if you want body-hugging (zero ease), comfortable (½ inch ease), or relaxed (1 inch ease).
- Check Bust Point Height (Apex): Ensure the distance from shoulder to bust apex is measured accurately so padded cups sit centered.
- Preshrink Cotton Linings: Always dip cotton linings in water and iron before tailoring.
- Account for Fabric Stretch: Stretch fabrics require 5% tighter drafting than rigid raw silk. Read about fabric behavior in How Fabric Affects Charges.
- Specify Armhole Circumference: Measure armhole depth while bending the elbow to prevent tight sleeve armpits.
- Check Deep Back Shoulder Stay-Tapes: Backless or deep-cut blouses require internal stay-tapes to prevent shoulders from slipping down.
- Verify Arm Movement Ease: Raise both arms during your trial fitting to ensure full motion range.
- Leave 1.5-inch Internal Seam Margin: Ensure the tailor leaves seam allowance for future weight changes.
The 7 Critical Anatomical Measurement Points
Ensure your tailor notes: 1) Full Bust, 2) Underbust / Waist, 3) Shoulder Width, 4) Front Neck Depth, 5) Back Neck Depth, 6) Armhole Round, and 7) Bust Point Apex Height.
Frequently Asked Questions
Shoulder slipping occurs when the back neck cut is too wide for your shoulder width, or when internal stay-tapes are missing on deep-back designs.
Yes, provided the tailor left a standard 1.5-inch internal seam margin. Unpicking one inner side-stitch loosens the bust by ½ to 1 inch.